|
|
||
|---|---|---|
| docs | ||
| src | ||
| .gitignore | ||
| .prettierrc | ||
| README.md | ||
| package.json | ||
| tsconfig.json | ||
| wrangler.toml.sample | ||
README.md
Blossom server based on Ckoudflare Workers
Overview
This implementation of the Blossom Spec (https://github.com/hzrd149/blossom) only uses Cloudflare native components (Workers, KV, R2) and can be run in the Cloudflare free tier for personal use.
Limitations
- Maximum support file size for uploads (in the Worker free tier) is around 100MB.
- Blobs are stored in the R2 Bucket with a custom UUID and all lookup data is stored in the key value store. This requires multiple key lookups.
Tech Stack
- Hono Framework
- Typescript
- Cloudflare Workers & KV
- Cloudflare R2
Setup
- Login to Cloudflare with
npx wrangler login
- Start by renaming the
wrangler.toml.sampletowrangler.tomland set a name for the worker:name = "<name of the worker>"
# Name of the worker. Change "<name of the worker>" to your liking.
#
name = "<name of the worker>"
compatibility_date = "2023-12-01"

[vars]
#
# The public URL under which the service is available, i.e. usually a custom domain
PUBLIC_URL = "https://server.domain.name"
#
# Comma separated list of nupbs of allowed users. No blanks spaces. Leave empty for public access.
ALLOWED_NPUBS = "<NPUB to give access>"

[[kv_namespaces]]
# Run the command to get a KV namespace ID and add the ID below, as "<Key Value Store ID>"
# npx wrangler kv:namespace create media-server
#
binding = "KV_BLOSSOM"
id = "<Key Value Store ID>"

[[r2_buckets]]
# Run the command to get a R2 bucket and add the bucket name below as <R2 bucket name>
# npx wrangler r2 bucket create media-server
#
binding = "BLOSSOM_BUCKET"
bucket_name = "<R2 bucket name>"
-
Create a key value store by running the following command an put it in the
wrangler.tomlas<Key Value Store ID>.npx wrangler kv:namespace create media-server
-
Create an R2 bucket by running the following command an put it in the
wrangler.tomlas<R2 bucket name>.npx wrangler r2 bucket create media-server -
Make sure you have chosen a worker name in Chnage "" in your
wrangler.tomland then deploy the Worker by running:npm install npm run deploy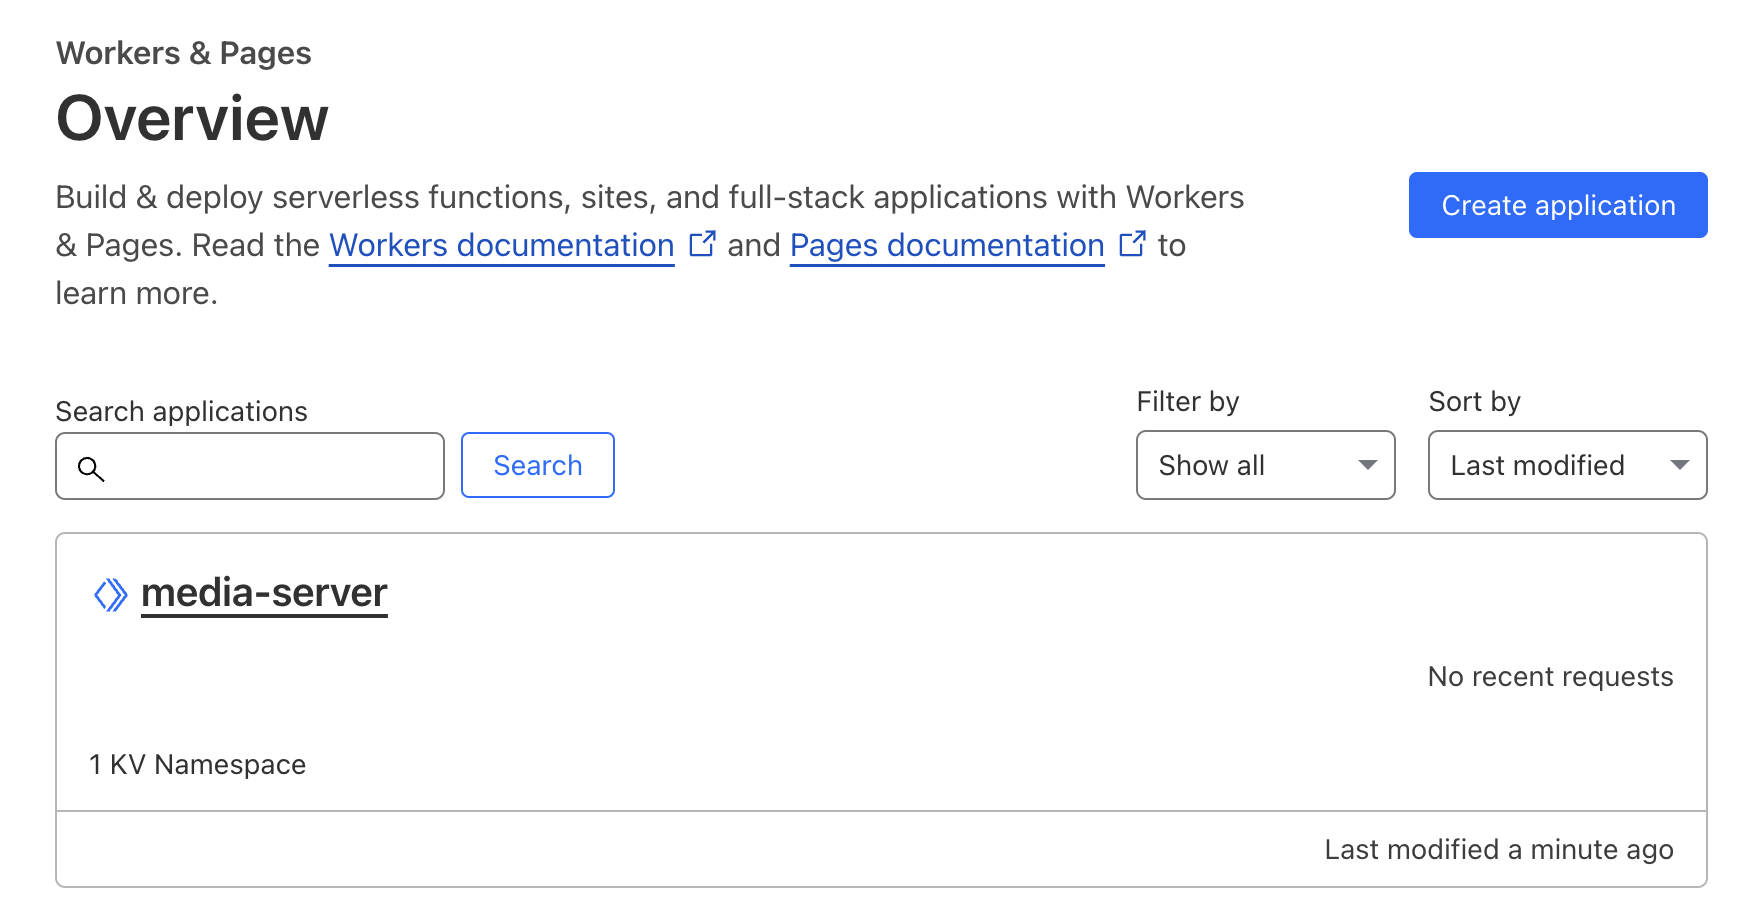
-
Now you can go into the worker settings and add a custom domain:
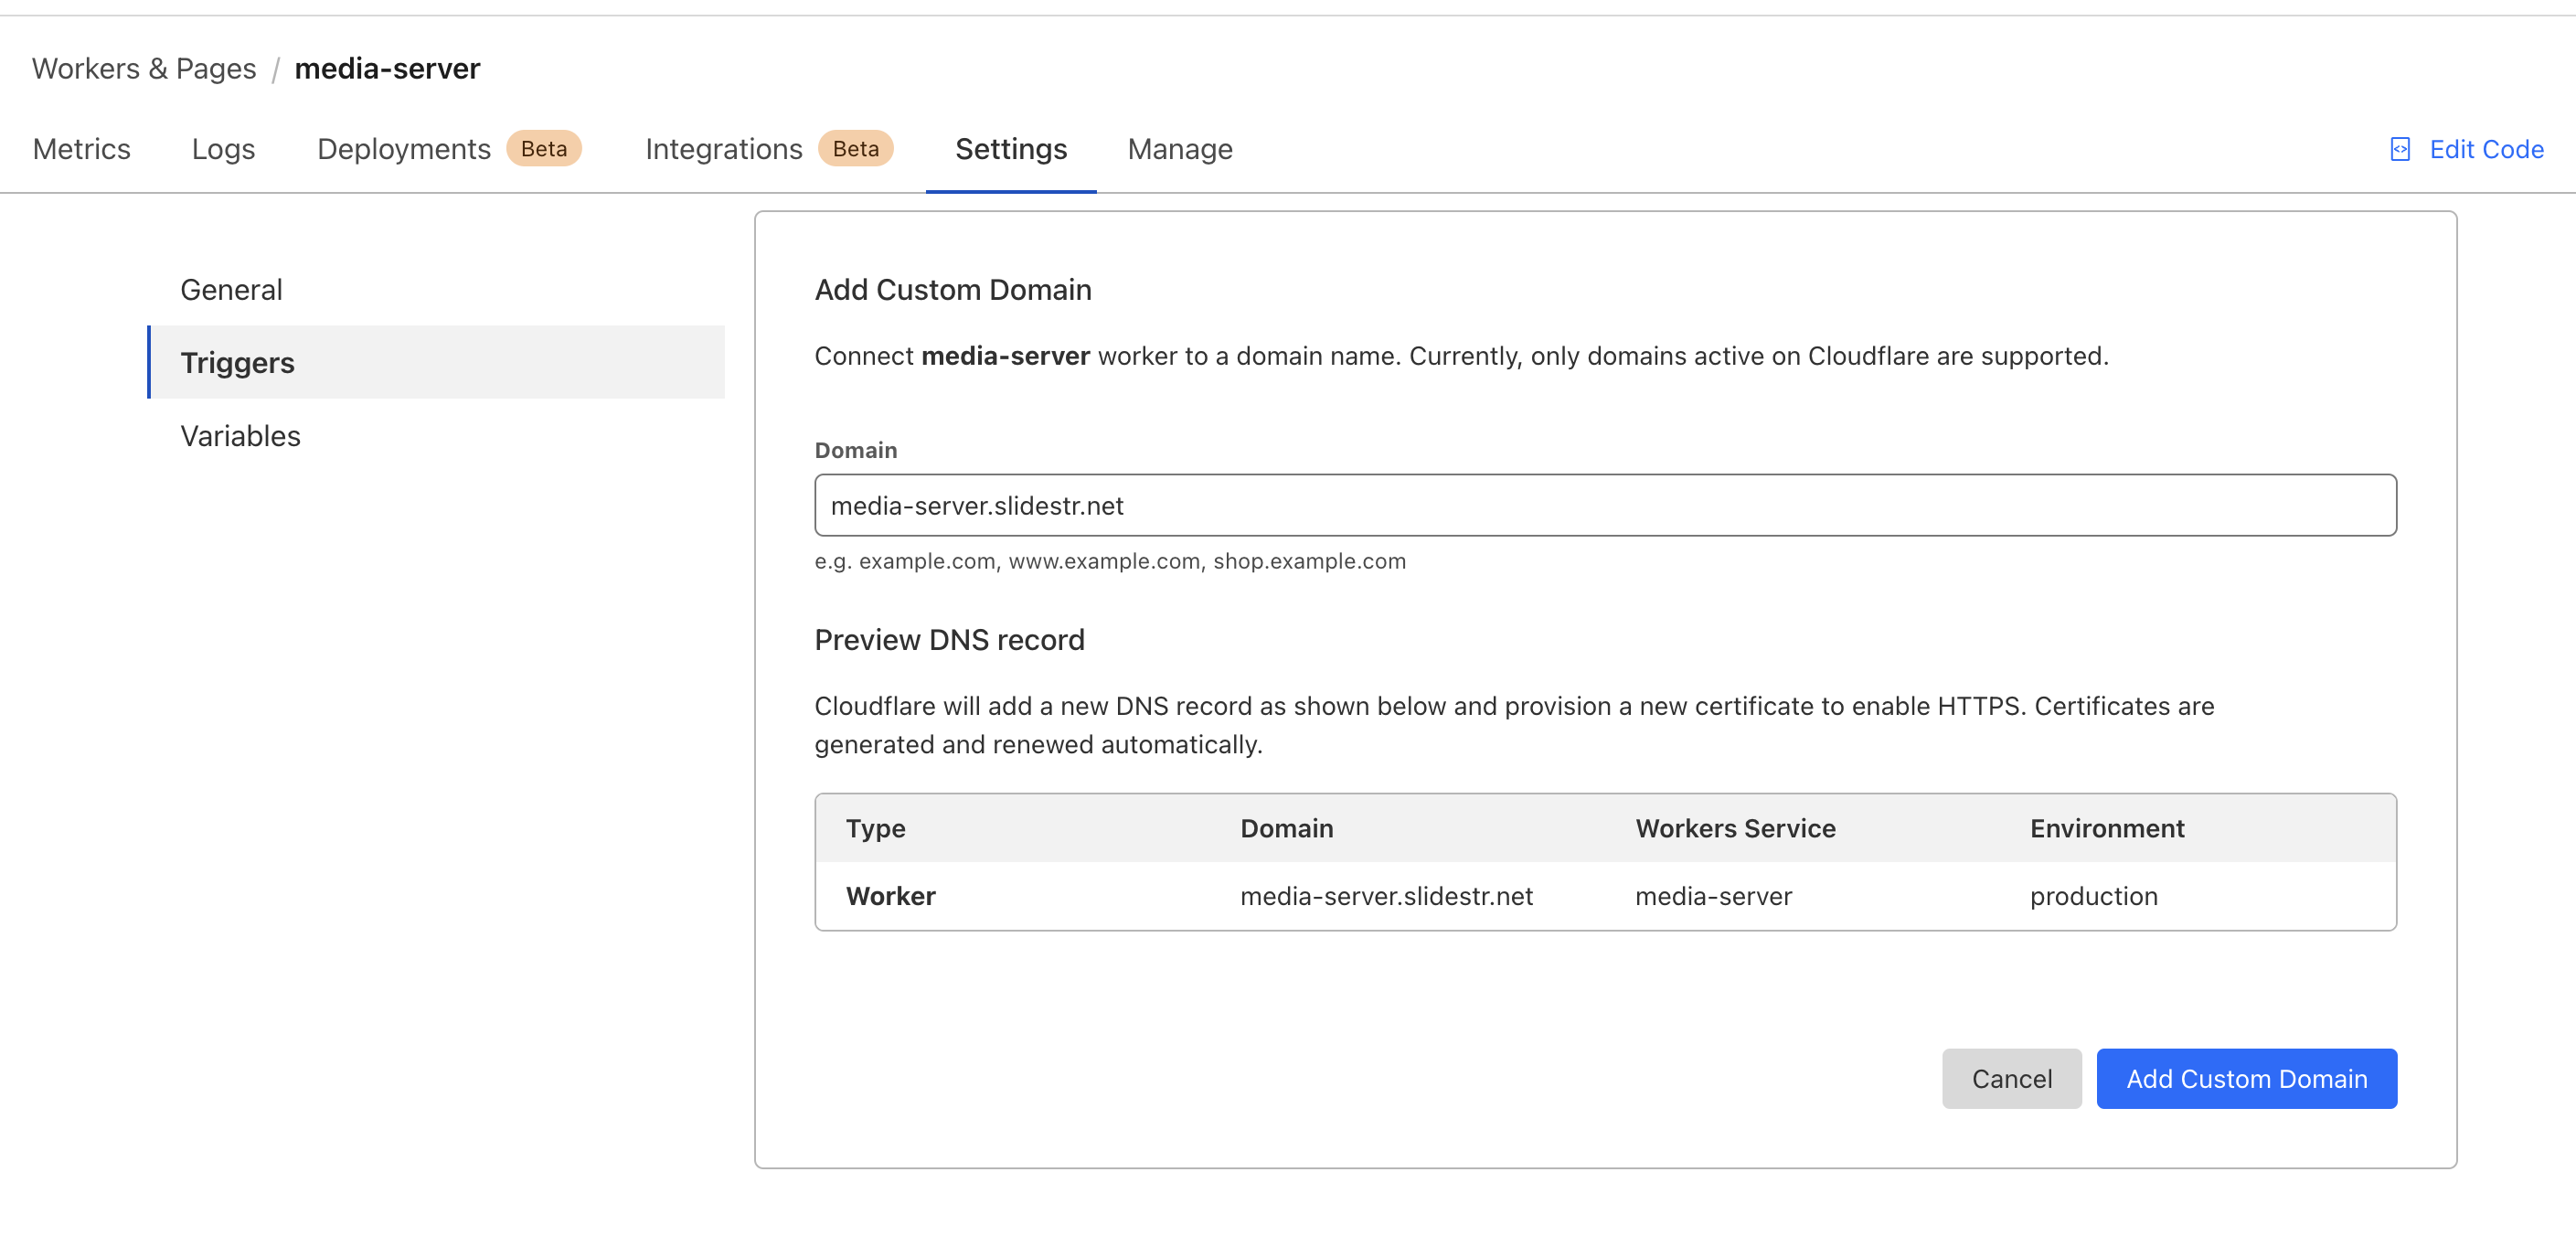
-
Finally you need to enter this new custom domain in the
wrangler.tomlfor thePUBLIC_URLvariable. Also make sure you setALLOWED_NPUBSto either""for public access or enter yournpubto limit access. -
Run
deployagain to apply the last variable changes.npm run deploy
Build
The worker can be run locally by using the following commands:
npm install

npm run dev
The cloudflare development environment will run simulated local KV and R2 instances for development mode.